How to root a Chromecast and flash updated firmware

If you’ve got a Chromecast and haven’t yet connected it to your network, chances are you’ve got one with a vulnerable bootloader and can root the device with a few minutes of work, a USB thumb drive, and a powered USB OTG cable.
Update 9/12/14: this probably doesn’t work for newer Chromecasts any more. The Hubcap root exploit was released recently and it’s now the way to go.
Yesterday I took the plunge on one of my Chromecasts that was still boxed up and untouched, and as of now I have a rooted ADB/Telnet-enabled device hanging off of my TV.
Why root a Chromecast?
Now might be your only chance
There are a few reasons I can think of. The first is that if you have the opportunity to root the device now, you should take it, as the Chromecast was patched after the first firmware to be unrootable. While most locked down devices are a game of root, patch, find exploit, root again, the Chromecast is significantly more difficult to attack than a device designed to be connected to, and auto-updates the software without asking for your permission.
The Chromecast is much more of a moving target than phones and tablets.
You live outside of the US
If you’re outside of the US, most of the content that we Americans take for granted might not be available to you at all. After you root, you can change where the Chromecast thinks it is.
Custom firmware coming soon
A couple of developers have mentioned they’re starting up tests on modified Chromecast ROMs which would re-enable casting from local devices. Google removed that ability from the Chromecast for reasons unbeknownst to me, but probably for licensing purposes.
What do I need to root a Chromecast?
You are going to need the following:
- Chromecast with vulnerable firmware (what mine was out of the box)
- 128MB+ USB thumb you don’t mind erasing
- Flashcast 1.0 bin
- Flashcast 1.1+ firmware
- Win32 Disk Imager (or equivalent)
- A powered UTB OTG cable (or jump through these hoops for an unpowered one) – here’s a link to a powered USB OTG cable that should work.
- About 12 minutes
Big list of warnings
Rooting, or attempting to root, a Chromecast could make it a useless piece of key-shaped plastic. A rooted device now may cause issues later if Google was sneaky and put in any sleeper code. Proceed at your own risk.
Steps to root a Chromecast
Using Win32 Disk Imager (or system equivalent such as Linux’s dd), you’re going to prepare a USB stick. I used a 2GB USB thumb drive that had shipped with some product information on it.
Plug the stick in, run Win32 Disk Imager, and write the Flashcast 1.0 bin to the thumb drive. Make absolutely sure you’re writing to the right USB stick, as this may pick up other drives, devices, or phones plugged into the computer as a drive. So be careful.
After writing to the USB stick, you’ll probably see that the disk needs formatted in order to use it, or that the drive is simply not recognized. That’s OK – eject the drive, or simply remove it.
- Plug the USB stick into the USB OTG cable.
- Plug the Chromecast into the USB OTG cable.
- Press and hold the button on the Chromecast (it’s next to the microUSB port).
- While still holding the button, plug in the power to the Chromecast.
If everything went right, you’ll see a red light for about nine seconds and then a white light.
You’re not done with the rooting. At this point, your Chromecast can still update itself from Google and patch the vulnerability you just exploited, so remove power from the Chromecast.
Plug the USB thumb drive back into the computer,;if it’s like my experience, suddenly the drive is visible and has a text file containing diagnostic information from the Flashcast. If it’s not like mine, format the USB drive.
- Copy the Eureka_image.zip from the Flashcast 1.1+ Firmware link to the USB drive. Make sure you simply copy this, do not use the disk imager.
- Plug the Chromecast into a TV and into the USB OTG cable.
- Plug the USB thumb drive into the cable.
- Press and hold the only button on the Chromecast (keep it held).
- Apply power.
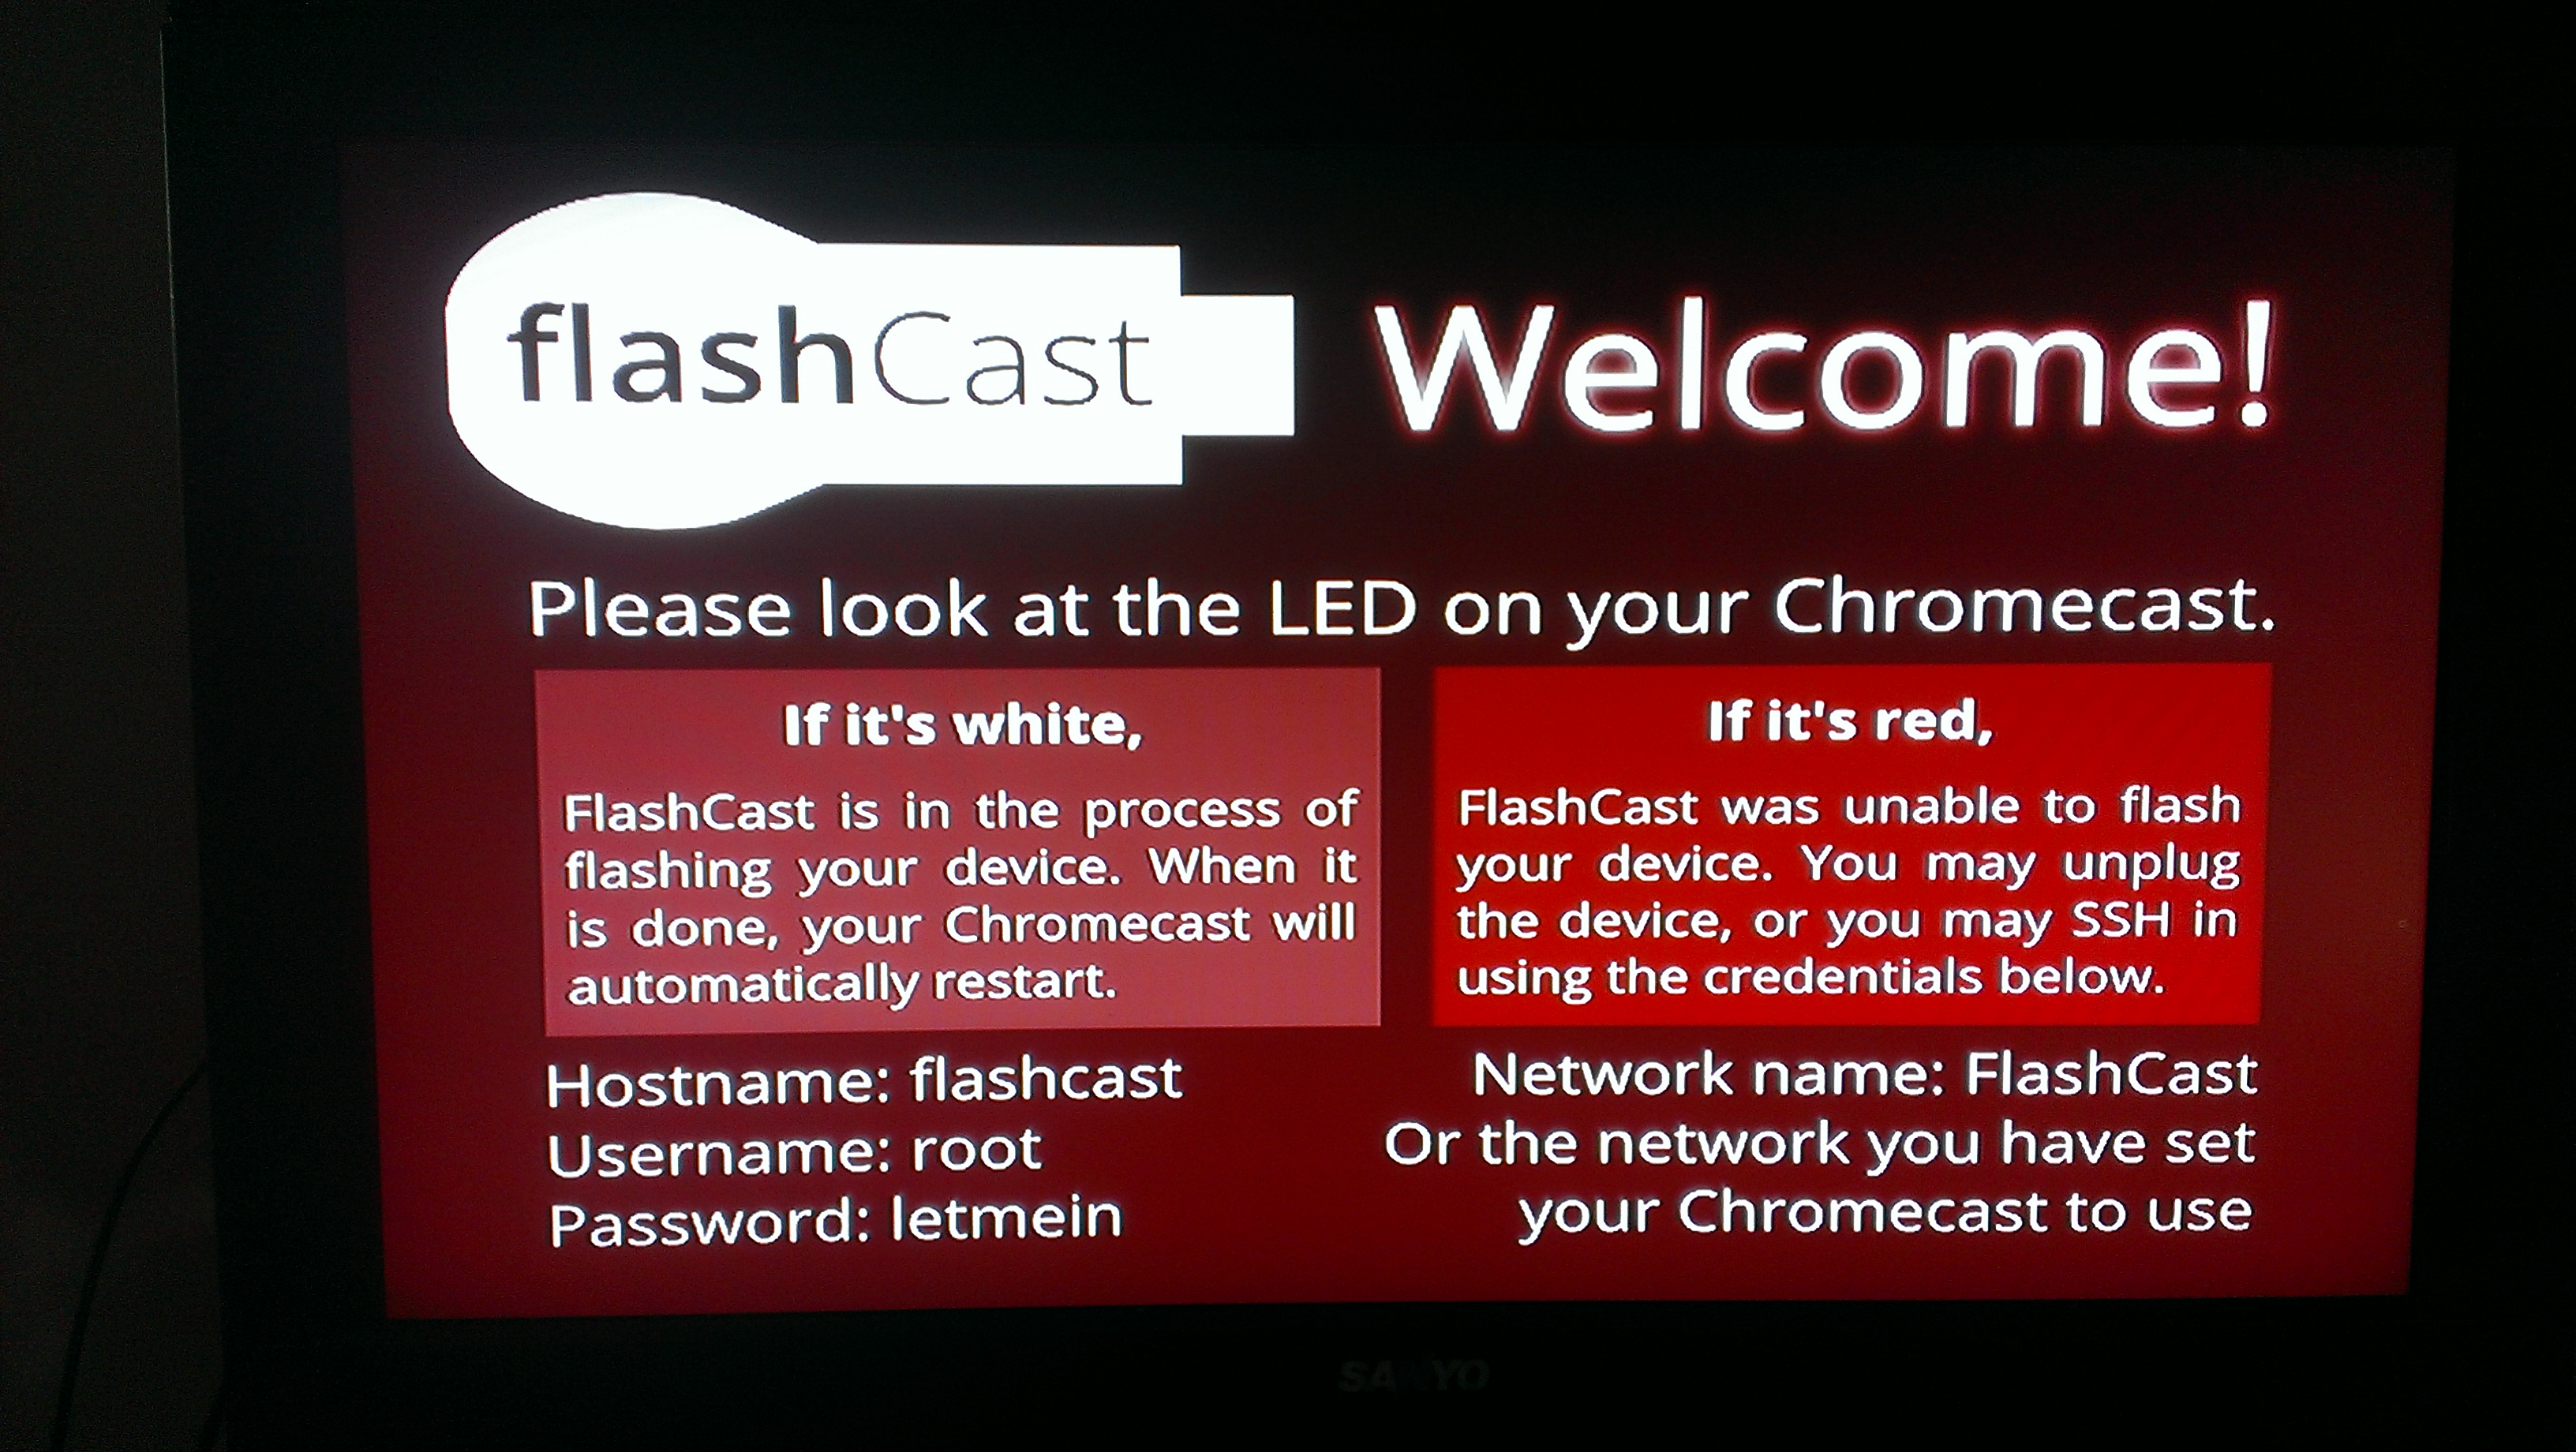
This should take about five minutes with the following screen showing and no evidence of anything happening.

I just walked away and when I came back, it was sitting at the main Chromecast setup screen with firmware 13300.
You are now rooted with a firmware that will not update itself automatically. From here, you can apply any mods such as the DHCP DNS mod, telnet into the device (there’s no username or password), and play around with the shell.
It’s really not particularly exciting unless you’re a developer, but when custom ROMs start popping up you should be able to flash them in the same manner and achieve functionality that Google doesn’t support or supply.
See how I did it
There was no way I was going to be able to handle a camera, have this attached to my TV, and light it. So here’s all that is required to achieve the first half of the rooting:
Note that the second half (flashing updated firmware) takes about five minutes, and probably should be done attached to a TV so you know when it’s done.
Issues I encountered
The only issue I ran into was that Win32 Disk Imager refused to browse. The application would lock up when I attempted to open the browse dialogue box and after many attempts running as System Administrator, in compatibility mode, I finally gave up and just typed in “c:\users\paul\desktop\flashcast.bin”. That’s probably just my computer being a pain and not the software’s fault though.
